October 5, 2011
Halloween Card
October 3, 2011
Halloween Card and Video
September 14, 2011
Harley, School, and Pumpkins
July 23, 2011
Today the letter is "B"
July 22, 2011
In the mood to shop & 4th sneak peak!
In the meantime I am linking to these wonderful challenge spots!
Stamptacular Sunday Challenge-animals
Clear it out Tuesday-anything goes!
Fresh Brewed Challenges-animals
Fab'N'Funky Challenges-animals
Die Cut Dreams Challenge Blog-animals
Allsorts Challenge-anything goes!
Papertake Weekly-cute!
July 21, 2011
3rd sneak peak!
July 20, 2011
Day 2 of sneak peaks!
July 19, 2011
New Adventure!
Hello Everyone!
May 27, 2011
Saturday!!
Here is the link to my party blog if you are interested!
October 23, 2010
Were back home!
It was so weird to first see the ledge...your body doesn't really want you to go out on it. Be we did brave it and it was such a weird/neat experience. Aiden wasn't sure what to think..scared mostly. I didn't really want to do it especially since they had one of them BLOCKED OFF and not being used...why?!? An accident or was it broken???? (I know they were probably cleaning it or something but still.........your mind starts to panic)
October 8, 2010
Copic Tutorial--Bricks
Hello Everyone. Ready for another Copic tutorial? This time it will be about using your colorless blender (O) to create a "brick pattern"! I will be using the fun TSB image that is available in the shop now!
Lets get started!
------------
STEP 1
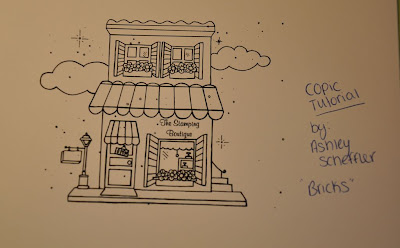
Here is the image that we will be coloring today and creating a non card project with.
STEP 2
The first thing that you will want to do is grab a peice of scrap white cardstock (the same kind you printed your digi image off from). You will want to practice the brick technique because it will push the
color slightly out and could ruin your image if you do not see how it feels at first. This is of course hardest with dark colors such as the brown I will be using (E37). Go ahead and color or scribble a nice area for you to practice in.
STEP 3
Once you have the color you will be using scribbled on a scrap piece of paper, grab your colorless blender (0) and for the next steps we will be using the BROAD tip. I always love doing this technique because I feel like I never get to use the broad tips of my markers!
STEP 4
For this picture I had my husband take a picture of me doing the technique, so this is how you would see me doing it. But in your hand you will hold the marker so the longer part of the broad tip will hit the paper first on the left hand side
STEP 5
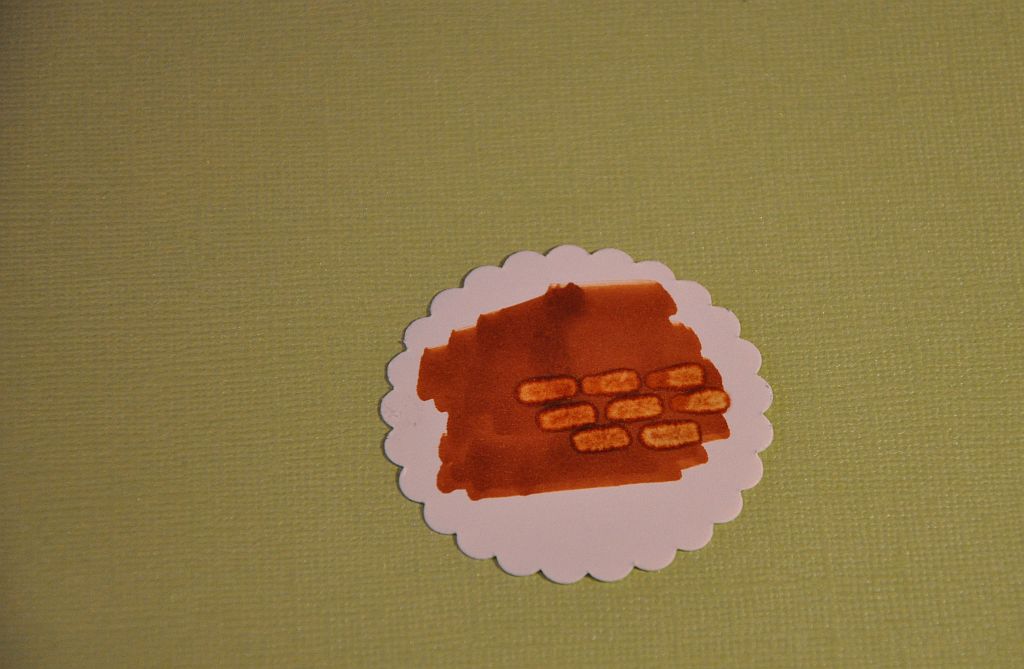
Then slowly "roll" the broad tip down so the rest of the tip is touching the paper flush. Hold for a few seconds. You can practice holding at different seconds. Of course the longer you hold it down the more color is erased and can be spread.
STEP 6
Try it out a few times and you can start to see the brick pattern!
STEP 7
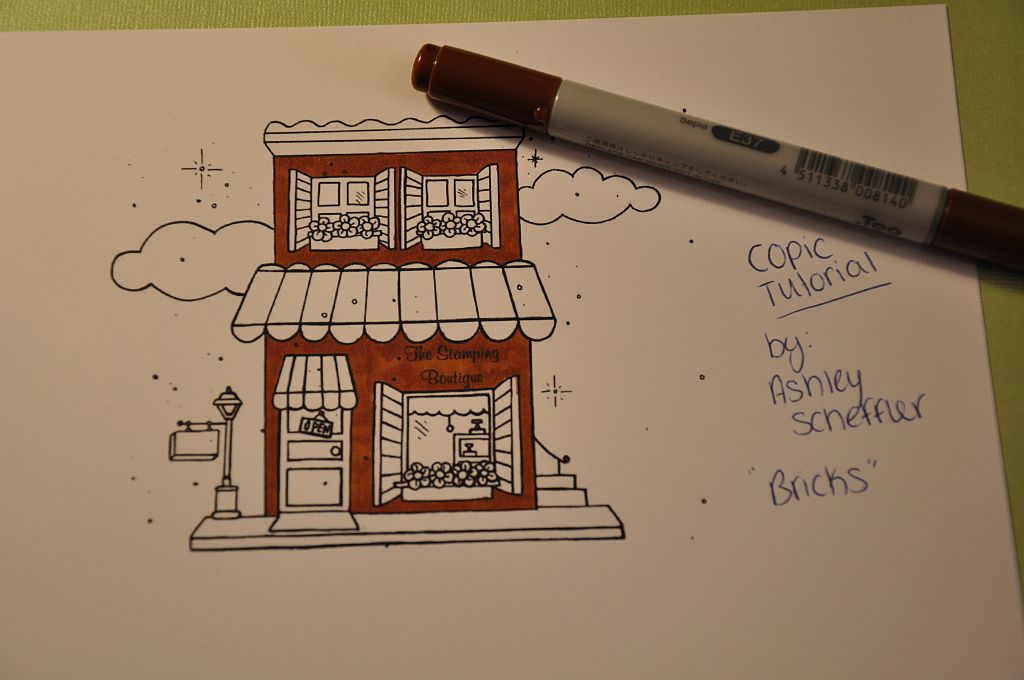
When you are ready to try it on your digi image go ahead and color the entire building. I stayed with E37 but if you didnt like the color you chose first then pick another one.
STEP 8
Here is the building done. Where you cannot fit the whole tip just sort of drag the tip (from the longest end) to get rid of the color and look like the technique. BUT you can see where the color runs because the colorless blender pushed it out. Go back over it with the brush end of the blender and using a sweeping motion, push it back to the line of the image. It should get rid of alot of the messed up lines. This is why it is very important to use great paper with Copics!
STEP 9
Color in the rest of the image. Here are the colors I used:
Bricks- E37, 0
Canapy/Curtains- RV04
Sidewalks/Plant boxes- C5
Flowers/Doormat/Sign- Y08
Street light/windows/store- W-5
Clounds/Shutters-BG10
STEP 10
I wanted to create a non card project so I created a gift bag. This is perfect to give your stamping friend some extra goodies you will never use or have duplicates of and make their day or birthday!! I also added "For You" on the empty sign holder with a Copic Multi-liner.
I hope you enjoyed this technique!!
September 29, 2010
Newest Custom Order!
September 19, 2010
Halloween Things and some great news!

September 15, 2010
New Glasses and Cusom Orders
Well I am needing to get off here and go to bed so I can keep up with Mr. Aiden (whos TWO now...I cant believe it). I also cant wait for survivor!!
September 2, 2010
New Home Card
I wanted to use colors that were very warm and could work for any house colors. I also dug out on OLD Michaels $ stamp and colored it quickly with my copics. I also had some adorable mini key embellishments that I attached to the front. Insides said Congrats and I placed a Crate & Barrel gift card inside (oh how I love CB!)
We have a very busy weekend ahead of us. We are doing a mini bday celebration for Aiden since Brents sisters cannot come to his actual bday party. He is going to be one spoiled little boy thats for sure!!
August 30, 2010
Copic Tutorial-Part 3
Ready for part 3 of coloring Baby at the beach? This time the tutorial will be about coloring in the rest of the areas and you can see the card I created with it! Perfect way to end summer since school is starting up!
Lets get started!
------------
STEP 1
Here is the image and how I left off from the last tutorial (coloring sans). This time I am focusing on coloring in all the white areas on the image. I will be using quite a few markers
STEP 2
I will start with her beach towel and coloring it green. I will be using G07, G05 and G02. Starting with G07 I will shade in the areas that will be the darkest (where the sun will hit last).
STEP 3
Now I will take the medium color (G05) and add to the color, spreading it out a little more.
STEP 4
Taking the lighest green (G02) I will finish coloring in the white spaces and all over the green areas to evenly blend.
STEP 5
Now I will be coloring the top area of the image (sky, sun, bird). For the sun I used Y02 and Y06. For the bird I used B60 and for the sky I used one of the newest Sketch markers B0000.
STEP 6
Now I will be coloring the little girl image. For her skin I used E00. For her hair I used Y17 for a darker blonde. For her swim suit and hat I used RV21, RV23 and Y17 for the little flowers.
STEP 7
Now it's time to finish coloring the shells (I used E95) and the sand toys. (I used YR04 and YR16)
STEP 8
Here is a close-up of the finished colored image!
STEP 9
Use the image to create a project! I used a card with some bright paper scraps that just screamed BEACH to me. I also put glossy accents on the sun and the sea shells in the sand. For my added embellishment I used a Prima flower and actual shells I got from our Florida trip in May.
I hope you enjoyed this part series for the Copic tutorial. Be sure to stay tuned for my next tutorial....it's a fun technique!!